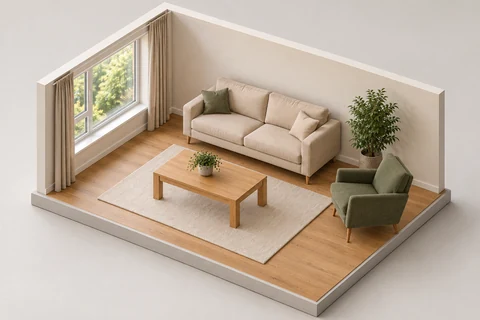
/ISOMETRICROOM · CHATGPT
Isometric room model
Rebuild the visible living room as an open-front isometric architectural model on a thin rectangular base, seen from an elevated three-quarter angle.
architecture
Explore room layouts, model views and lighting concepts from an original room photograph. Check furniture, openings and spatial consistency. Plans are illustrative and unmeasured, not construction documents.
Explore 25 effects ↗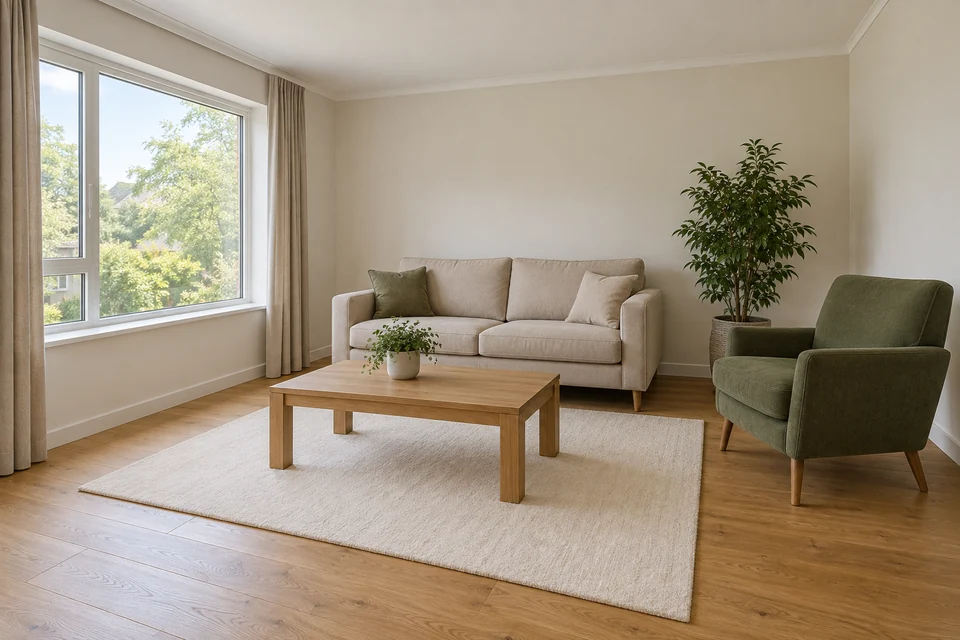
Rebuild the visible living room as an open-front isometric architectural model on a thin rectangular base, seen from an elevated three-quarter angle.
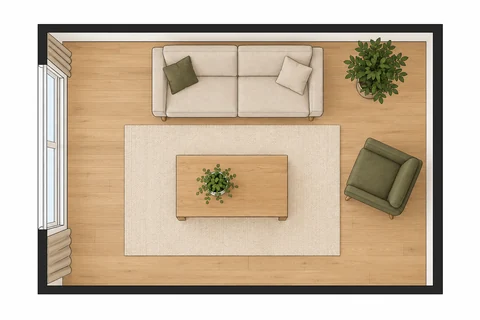
Translate only this visible room into one clean directly overhead illustrated floor plan.
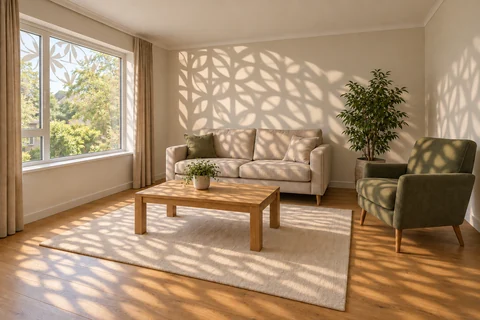
Project a crisp repeated geometric leaf pattern of sunlight and shade onto the back wall and floor, as if a patterned screen were outside the existing left window.
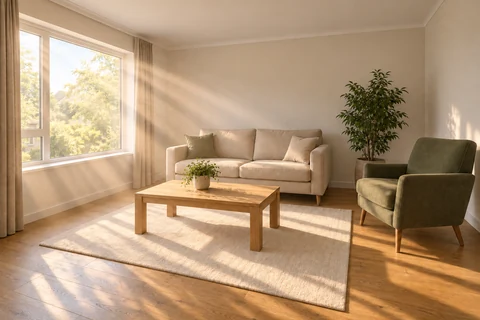
Add clearly visible but delicate volumetric sunbeams entering through the existing left window, revealed by a small amount of airborne haze.
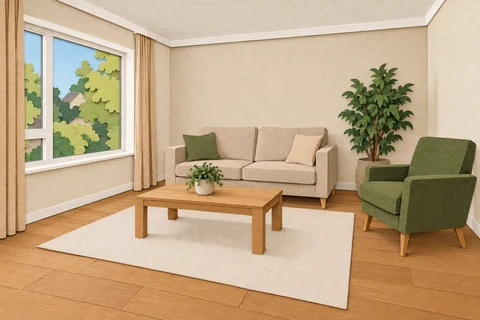
Build the subject from layered cut paper, with clean edges and soft shadows.
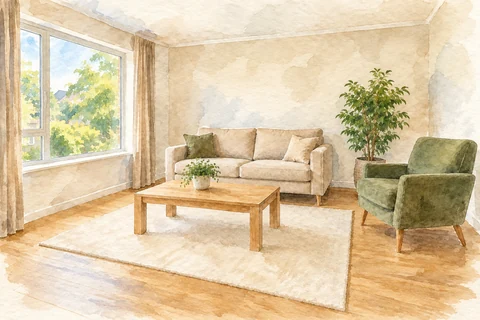
Render the subject in loose watercolor washes with delicate paper texture.
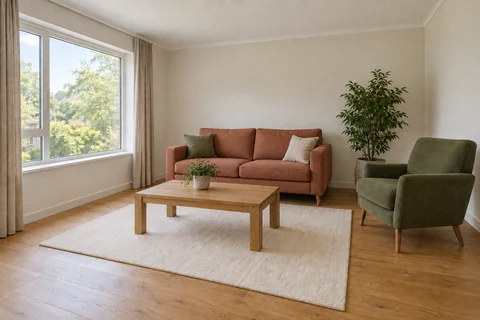
Change only the selected surface color and retain its texture, lighting and geometry.
Windows, doors, furniture count and major wall junctions are useful anchors. OBJECTREMOVE reconstructs the area behind the removed object; it cannot recover unseen flooring as fact. If dimensions or structural decisions matter, use measurements and professional documentation rather than a generated room image.
GOBOPATTERN projects a pattern onto surfaces. VOLUMETRICLIGHT makes a beam visible through atmosphere. Check openings and direction before accepting the effect. For ENVIRONMENTMATCH or ARCHIVEWALL, supply the documented separate inputs and inspect each placed item for changes.
ISOMETRICROOM explains volume, while FLOORPLAN suggests an overhead arrangement. Both infer hidden geometry. LIGHTINGDIAGRAM is a hypothetical setup, not a reconstruction of the original shoot. Remove unsupported measurements and compare furniture relationships before admiring a technical-looking presentation. The detail-drift guide explains why unseen room areas need especially cautious interpretation.
Find the right look for your photo.
25 effects with examples
Build the subject from layered cut paper, with clean edges and soft shadows.
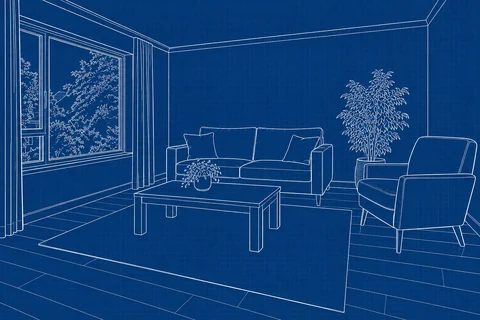
Make an illustrative blueprint with clear outlines. Do not invent measurements or specifications.
Render the subject in loose watercolor washes with delicate paper texture.
Change only the selected surface color and retain its texture, lighting and geometry.
Rebuild the visible living room as an open-front isometric architectural model on a thin rectangular base, seen from an elevated three-quarter angle.
Translate only this visible room into one clean directly overhead illustrated floor plan.
Project a crisp repeated geometric leaf pattern of sunlight and shade onto the back wall and floor, as if a patterned screen were outside the existing left window.
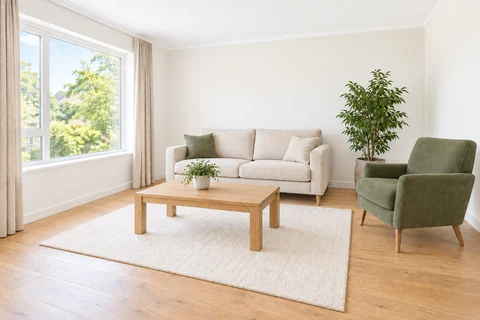
Relight the room as a bright high-key interior photograph: luminous diffuse daylight, open shadows and a near-white tonal background.
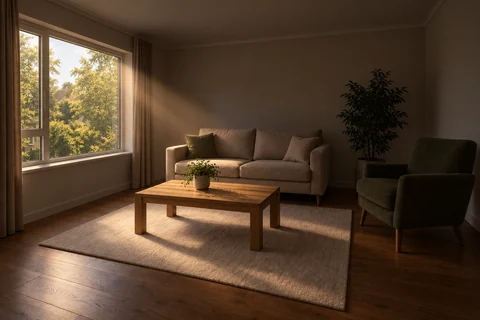
Relight the room in a restrained low-key style with one narrow soft beam entering the existing left window, illuminating the sofa edge and coffee table while the rest falls into deep readable shadow.
Add clearly visible but delicate volumetric sunbeams entering through the existing left window, revealed by a small amount of airborne haze.
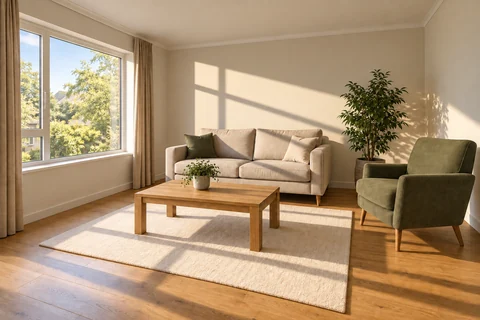
Use hard directional sunlight through the existing left window to cast one large graphic window-frame shadow across the back wall, sofa and floor.
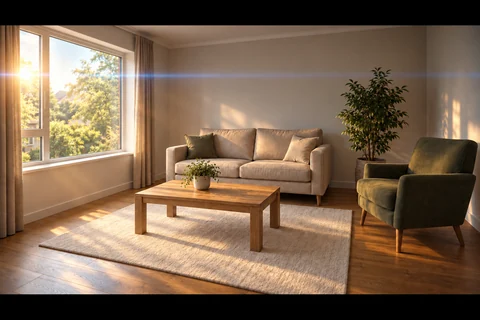
Create a cinematic anamorphic-lens interpretation of the same room: subtle horizontal blue flare originating from the bright left window, gentle optical falloff and a restrained wide-screen letterboxed composition inside the original canvas.
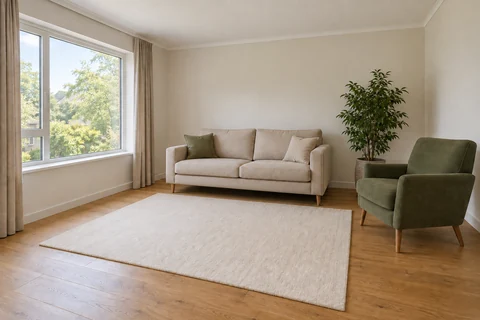
Remove only the central coffee table and every item resting directly on it.
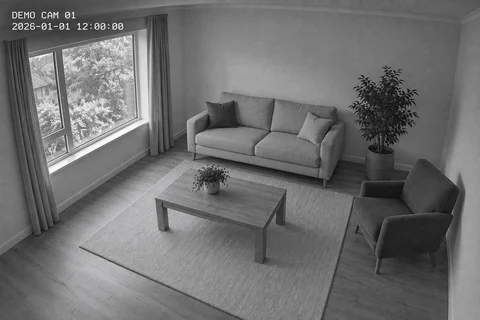
Reinterpret this same room as a clearly fictional monochrome security-camera still from a high corner near the original camera position.
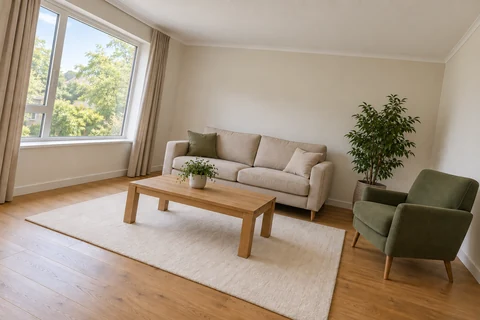
Rephotograph this same room with a restrained clockwise camera roll of about twelve degrees.
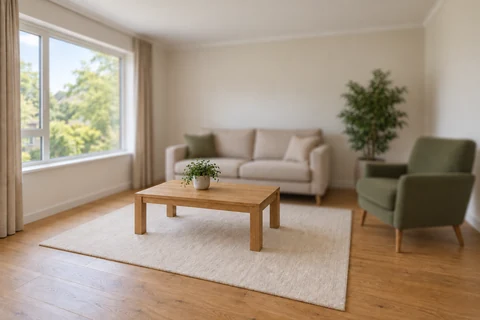
Keep the coffee table and its small potted plant sharply focused, and progressively soften the sofa, rear plant, armchair and back wall with natural lens depth of field.
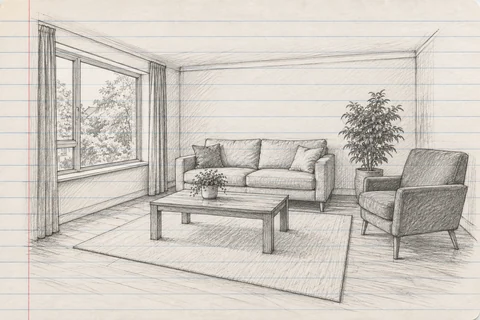
Translate the same furnished room into a loose graphite perspective study on one off-white ruled notebook page.
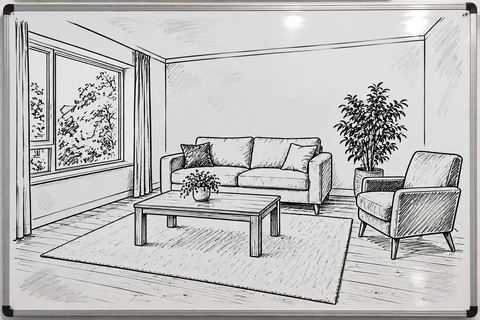
Render this same room as a confident black dry-erase marker perspective drawing on one clean glossy whiteboard, photographed straight on.
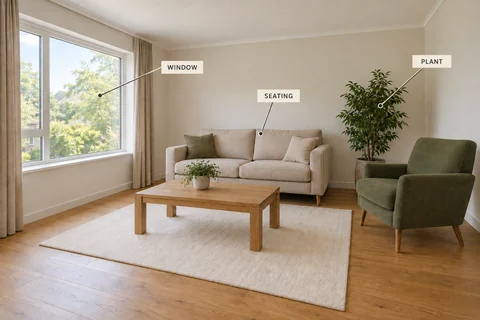
Add clear callouts to visible features of a room.
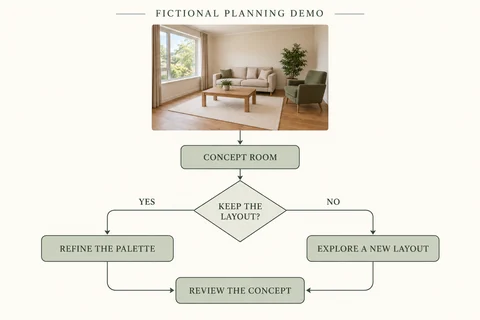
Turn a room reference into a clearly labelled fictional planning diagram.
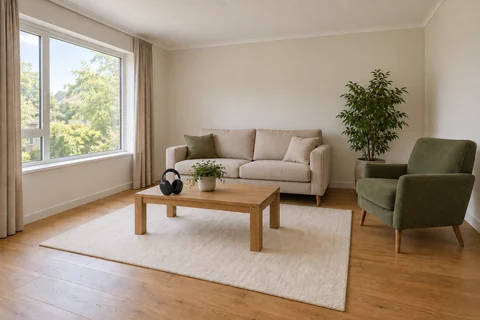
Place a separately supplied product into your supplied room photograph.
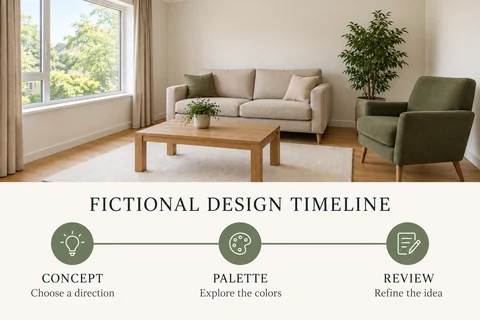
Arrange a room reference with a clearly fictional sequence of design stages.
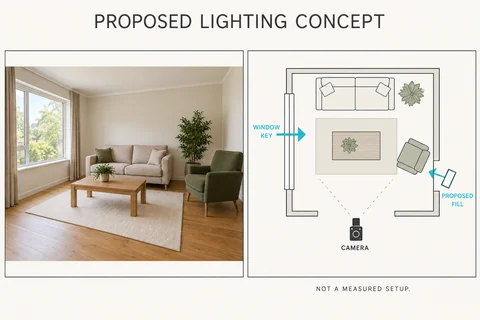
Pair a room reference with a clearly labelled hypothetical lighting plan.
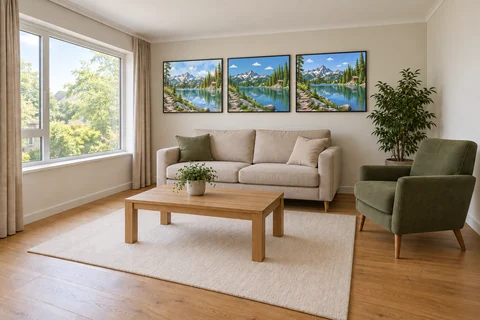
Hang three separately supplied artworks in your supplied room.
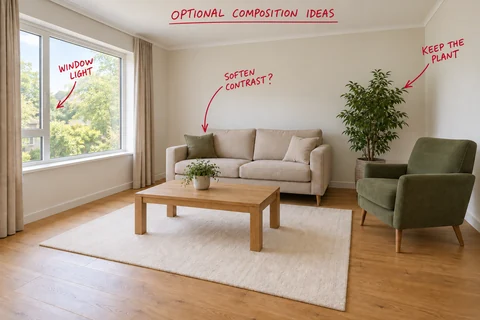
Mark optional visual suggestions over the unchanged room photograph.